
Amazing Nairobi
the calm street, the swahili conversations more than memorable and oh yeah the cool weather
with my mini 40 in my hotel room, i was ready to explore Nairobi
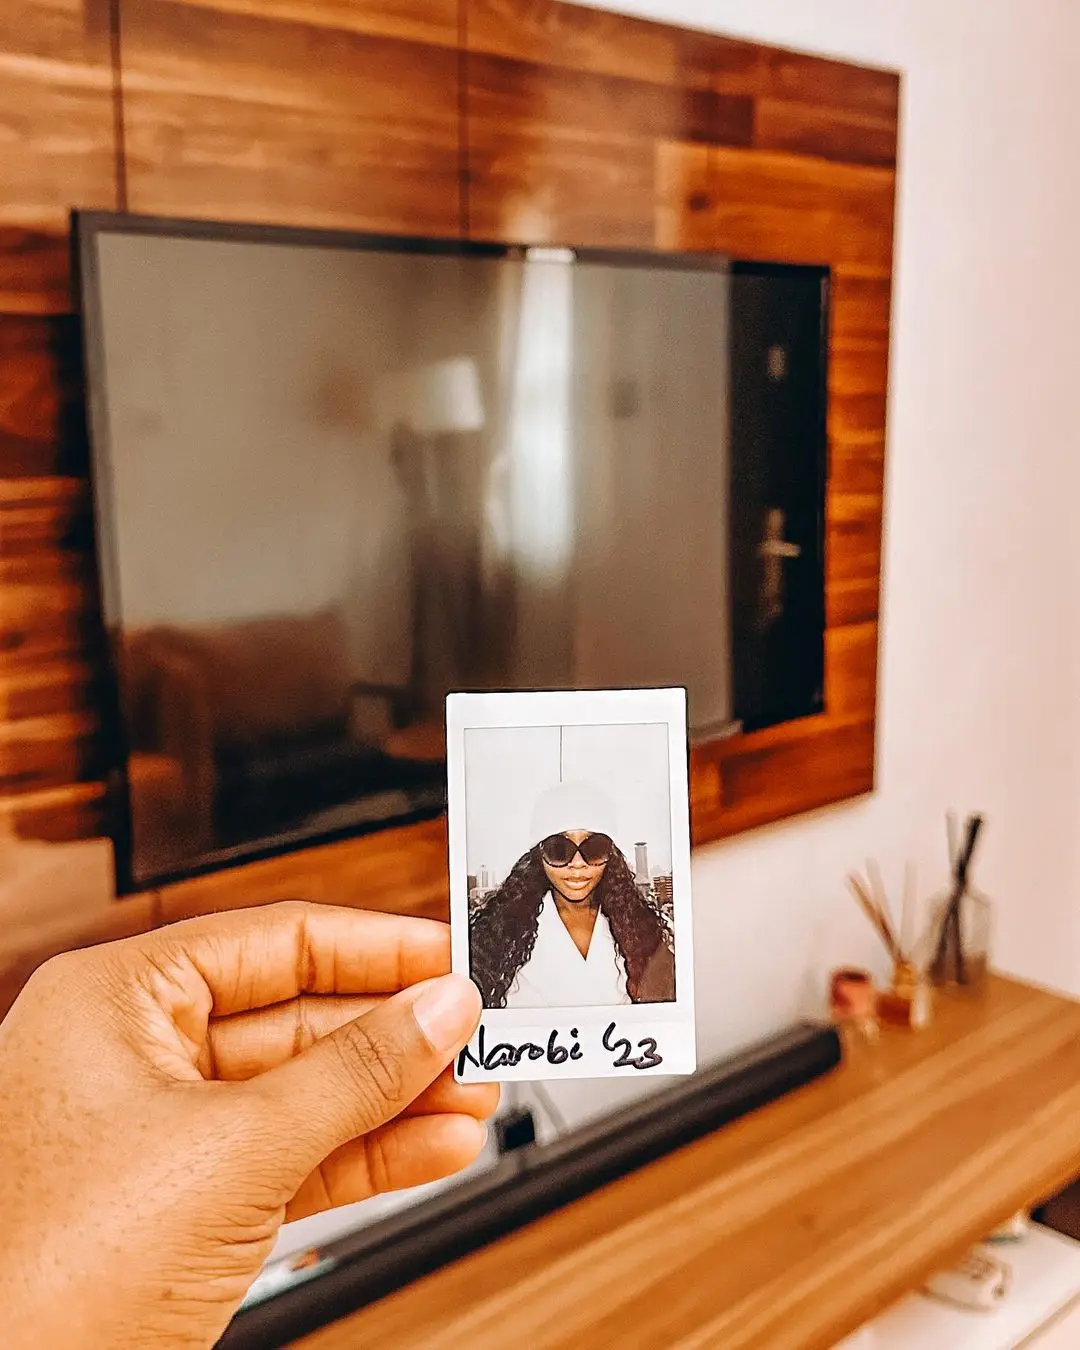
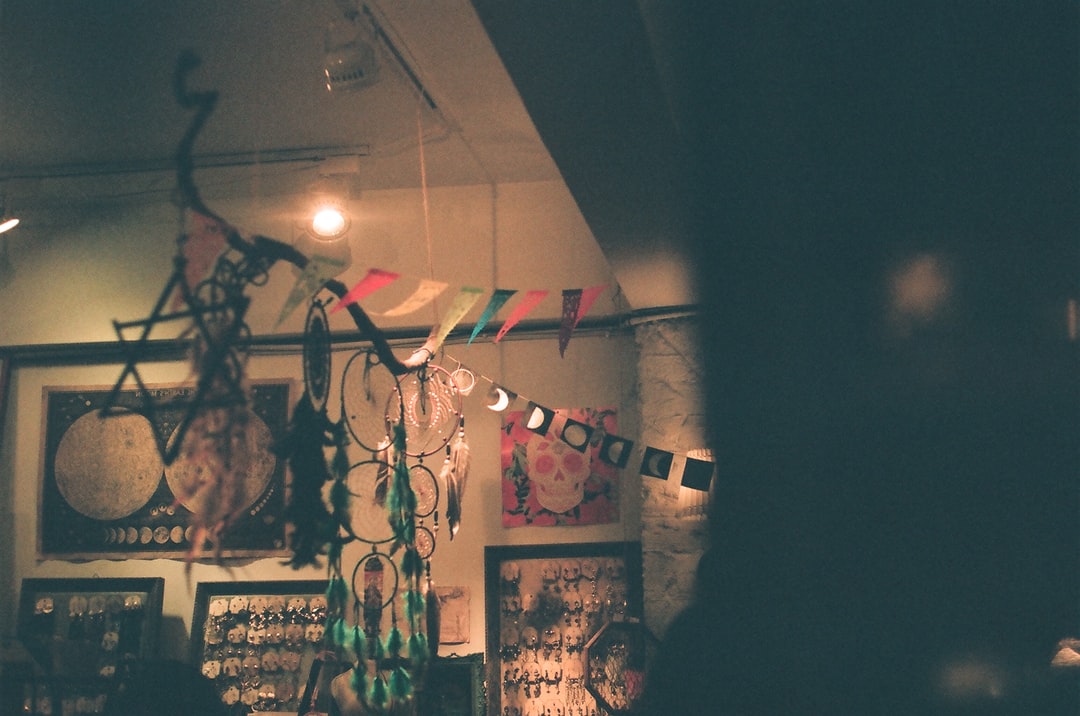
the calm street, the swahili conversations more than memorable and oh yeah the cool weather
Now, place the new pack of film into the camera so that the yellow mark aligns with the other yellow mark on the back of the camera. If you don’t see a yellow mark on the film cartridge, you may have it in backwards – there is only a yellow mark on one side. Once the cartridge is inside, close the camera. You’ll feel some resistance as you close it. This is totally normal.
What a correctly inserted film cartridge will look like before closing the back.
After the pack is inserted, turn the camera on by turning the ring around the lens to ‘on.’ Hit the shutter like you’re taking a picture to eject the dark slide, which is the black paper cover that protects the film from light. If you forget to do this step, you may be surprised by a dark slide ejecting from the top instead of a photo when you go to shoot a picture.
While you’re taking photos, be sure to keep the back closed until you’ve shot the entire pack. Exposure to light will ruin any photos that haven’t been exposed yet.
To take a regular photo of an object further than 2 ft/60cm away from the camera, turn the ring around the lens from ‘off’ to ‘on.’ When the orange light is solid, you’re ready to take a photo. It may blink momentarily to let you know the flash is still charging up.
Frame your subject in the viewfinder, then press the big shutter button on the front of the camera. The flash will go off, and then the photo will be ejected from the top slot. Let the photo eject completely before pulling it out. Also, despite what Outkast tells you, don’t shake the photo to ‘dry’ or ‘develop’ it. Just set the photo aside and the opacifier layer will fade away to reveal your photograph in approximately a minute or two.
When you’re done, set the camera to ‘off’ to collapse and protect the lens.
‘Closeup’ mode is for objects 1.5ft – 2.5ft away, or 30cm – 50cm for my metric friends. You’ll likely want to use this for a single headshot or to take a picture of a pet.
To enter closeup mode, turn the lens ring past on and over to ‘closeup.’ If you’re looking through the viewfinder while doing this, you’ll notice that the image slightly changes. This is the viewfinder compensating for the slightly different framing that a closeup shot requires.
Look through the camera, frame your subject, and hit the shutter button on the front of the camera. The image will pop out the top. Once you’re done, set the camera to ‘off’ to collapse and protect the lens.
Closeup mode is also selfie mode on this camera. The focusing distance for closeup is the same as taking an arm’s length self portrait.
To take a selfie, turn the ring from off, past ‘on’ and to ‘closeup.’ The orange light on the top of the lens will go solid indicating that the flash is ready.
Hold the camera out as far as your arm can reach. If you hold the camera too close to your face, it may produce a blurry image.
There is a small mirror next to the lens. Compose your image using that mirror, and when you’re happy with the framing, hit the shutter button. The camera flash will go off and then the image will eject from the top of the camera.
As with the other modes, once you’re done, set the camera to off and put the camera away.
If you’re trying to take a photo of a small object like a flower and you’re noticing your photos are out of focus, most likely you are too close. Unfortunately, this camera has no ‘macro’ mode, so there’s no easy way to fill up the frame with a small object by getting extremely close to it.
If you are getting out of focus selfies or portraits, make sure you’re not too close to your subject. Even in ‘closeup’ mode, it’s easy for the camera to be too close to the subject to focus. Hold your arm out as far as you can when taking selfies, as erroring on the side of the camera being farther away rather than too close will help get more shots in focus.
If your subject appears dark or underexposed, you may be too far away. The flash on the Fuji Instax Mini 12 struggles to reach subjects across a room, so it may help to get a bit closer.
Finally, if there is no orange light when you turn the camera to on, you likely have a dead battery. The lens will still pop out, but nothing will happen when you try to take a photo. Also, if the orange light is continuously flashing without ever going solid, the batteries may be too weak to power the flash. Either way, the easiest troubleshooting step is to replace the AA batteries or even just reseat your existing ones by taking them out and re-inserting them
<!-- Basic Meta Tags -->
<title>How to Use and Maintain a Polaroid Camera in Tanzania | Polaroids Tanzania</title>
<meta name="description" content="Learn how to use and maintain a Polaroid or Instax camera in Tanzania. Explore tips, models, maintenance steps, and where to get yours.">
<meta name="keywords" content="Polaroid Tanzania, Instax camera, instant photography Tanzania, how to use polaroid camera, maintain instax, instant camera tips, AA LR6 battery, film loading, photo printing Tanzania">
<meta name="author" content="Polaroids Tanzania">
<meta name="robots" content="index, follow">
<!-- Open Graph for Social Media Sharing -->
<meta property="og:title" content="How to Use and Maintain a Polaroid Camera in Tanzania | Polaroids Tanzania">
<meta property="og:description" content="Discover easy tips for using and maintaining your Instax or Polaroid camera, perfect for events, creators, and photography lovers in Tanzania.">
<meta property="og:image" content="https://polaroidstz3.odoo.com/images/cover.jpg">
<meta property="og:url" content="https://polaroidstz3.odoo.com/blog/how-to-use-polaroid">
<meta property="og:type" content="article">
<meta property="og:locale" content="sw_TZ">
<!-- Structured Data for AI and Search Engines (JSON-LD) -->
<script type="application/ld+json">
{
"@context": "https://schema.org",
"@type": "HowTo",
"name": "How to Use and Maintain a Polaroid Camera in Tanzania",
"description": "Step-by-step guide to using and maintaining a Polaroid/Instax camera in Tanzania. Includes types of cameras, film loading, battery tips, and printing services.",
"image": "https://polaroidstz3.odoo.com/images/cover.jpg",
"publisher": {
"@type": "Organization",
"name": "Polaroids Tanzania",
"url": "https://polaroidstz3.odoo.com"
},
"author": {
"@type": "Person",
"name": "Brian Masanja"
},
"mainEntity": {
"@type": "Question",
"name": "How do I use and maintain a Polaroid camera?",
"acceptedAnswer": {
"@type": "Answer",
"text": "Insert AA LR6 batteries, align film properly using the yellow line, avoid touching the no-touch zone, and store in a cool place. Follow these steps for long-lasting performance."
}
}
}
</script>
Wonderful view of the city and landscape.
We use cookies to provide you a better user experience on this website. Cookie Policy